
Simple Steps To Get PRIMAVERA P6 Installed
Step-1: Locate the file in your PC machine and extract it

Step-2: Open the extracted file and click at Setup

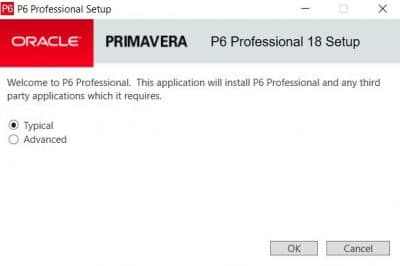
Step-3: You will be prompted to below windows. Choose “Typical” one and click OK
Step-4: Proceed Next, click to “Install”

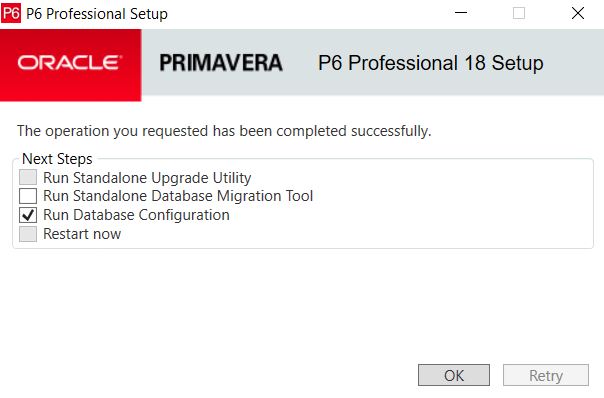
Step-5: Check the box “Run Database Configuration” and hit OK
Step-6: Now from drop-down select “P6 Pro Standalone (SQLite)” and hit Next

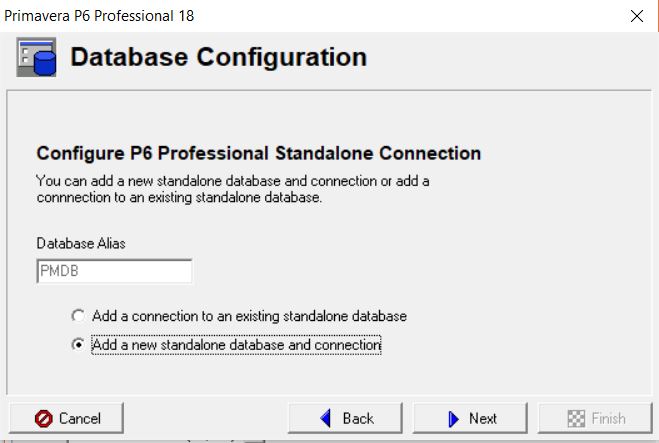
Step-7: Check “Add a new standalone database and connection” and hit Next
Step-8: Here, you can put login name, Personal name, and passwords as per will but prefer to put admin in each of these cells. Leave the Base Currency section it is. Hit Next

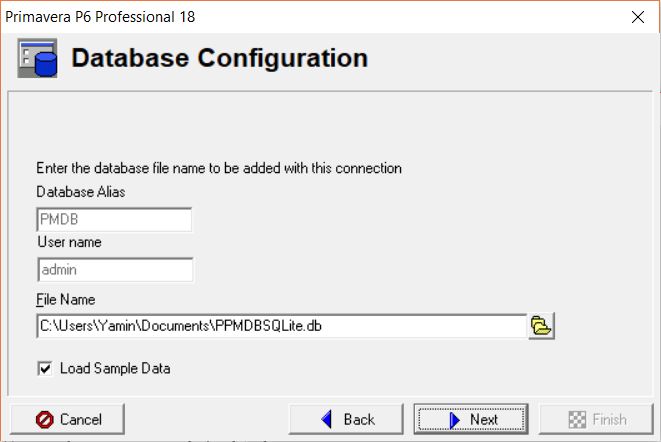
Step-9: Check “Load Sample Data” if you need to have some sample projects to practice on or else leave uncheck. Hit Next
Step-10: Click “Finish” and it’s all done! Yahoo
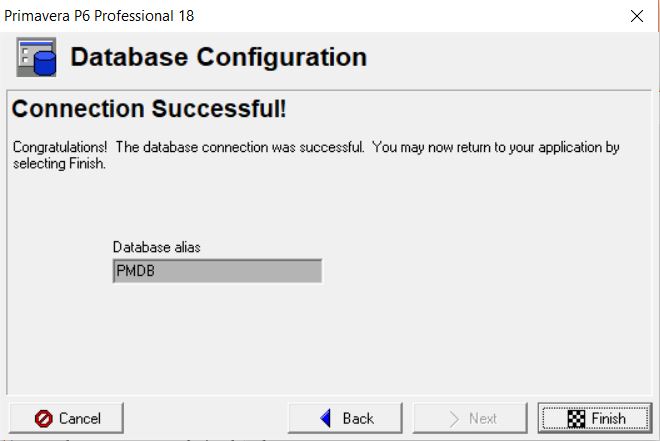
Congratulations! Now You are Learn to Install PRIMAVERA P6 , Lets Play with sample data or make your own Project plans.


Like!! Thank you for publishing this awesome article.